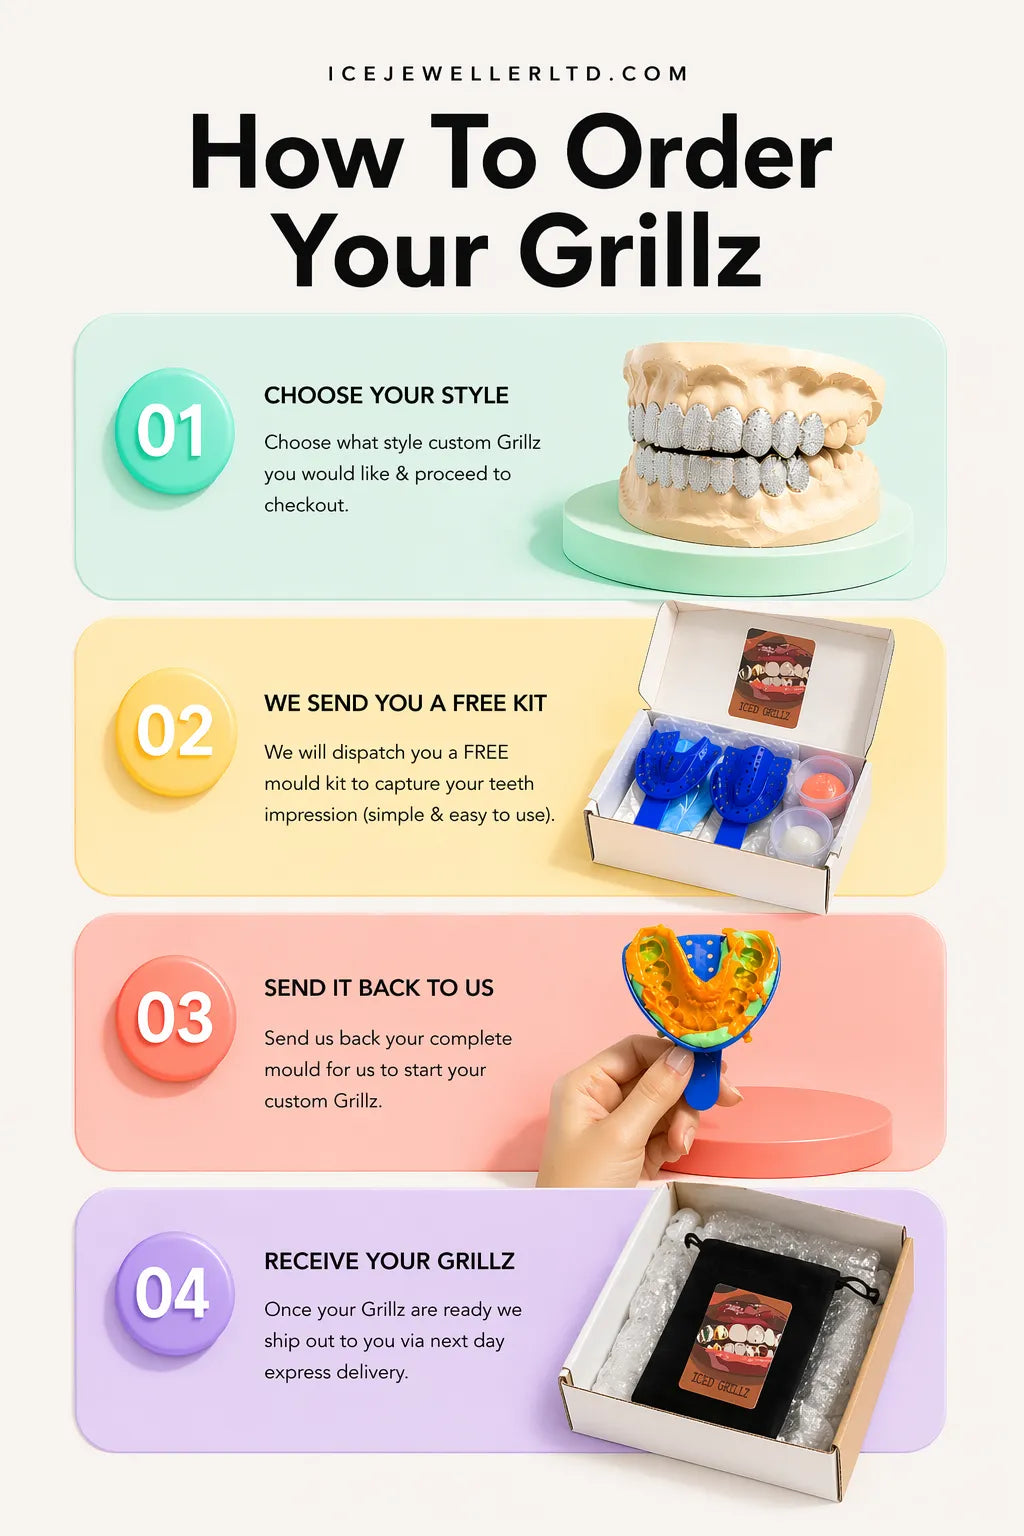
How Grillz Are Made: From Impression to Finished Piece
Custom grillz aren't jewellery that exists in a warehouse waiting to be shipped. Every piece is built from scratch — starting with the shape of your specific teeth. Here's exactly what that process looks like from start to finish.
Stage 1: The Dental Impression
Everything starts with a mould of your teeth.
We send you a free impression kit containing:
- Upper and lower impression trays
- Alginate moulding material
- Step-by-step instructions (and see our full impression guide)
- Return packaging with a pre-addressed label
You mix the alginate with cold water, load it into the tray, press it over your teeth, hold still for 90 seconds, and remove cleanly. The material sets quickly and captures an extremely precise negative impression of your teeth — every ridge, curve, and contour.
The impression goes back to us in the post. This is your teeth — the foundation everything else is built from.
Why this matters: Generic-fit grillz are made to generic tooth shapes. Custom grillz are made to your teeth. The difference in fit, comfort, and appearance is significant. A piece that follows your exact tooth contour sits flush, doesn't shift, and looks like it belongs there.
Stage 2: Pouring the Model
When the impression arrives, we pour a dental stone (a type of gypsum) into the alginate mould to create a positive cast of your teeth. This is the physical model we work from.
The cast is inspected for accuracy — any areas where the impression didn't capture cleanly are identified and we contact you if there's an issue that needs to be redone. A well-taken impression produces a clean, accurate model with sharp detail on every tooth surface.
Stage 3: CAD Design
Working from your cast and your brief, we produce a CAD (Computer-Aided Design) model of your grill.
CAD allows us to:
- Model the piece precisely around the contour of your teeth
- Preview how each style will look across different tooth counts
- Adjust dimensions, thickness, and style elements before any material is committed
- Generate a preview rendering to send you for approval
We send you the CAD preview before anything is made. You can request changes — to the shape, the style, the stone placement, the thickness — and we'll revise it. Nothing goes into production until you've approved the design.
This stage is where custom becomes truly custom. If you have a specific reference image, a sketch, or a particular design element, this is where it's incorporated.
Stage 4: Casting
Once the design is approved, the grill is cast in your chosen metal — 925 sterling silver, 10K gold, or 14K gold, in yellow, white, or rose.
The casting process:
- A wax model of the piece is created (either hand-carved or 3D-printed from the CAD file)
- The wax is invested in a heat-resistant mould
- The mould is heated to burn out the wax, leaving a cavity in the exact shape of the piece
- Molten metal is cast into the cavity under pressure or centrifugal force
- Once cool, the piece is removed from the mould and cleaned
The result is a raw cast in solid metal — rough around the edges, not yet polished, with the tooth cavity in exactly the shape of your model.
For a comparison of gold options at this stage, see our 10K vs 14K gold guide and white gold grillz guide.
Stage 5: Fitting and Filing
The cast piece is fitted over the dental model and adjusted. The interior surface must sit perfectly against the tooth replica — any high spots are carefully filed and smoothed until the piece seats correctly.
This stage determines fit. It's done against the model, not against your actual teeth, which is why the accuracy of the original impression is so critical. A perfect impression → a perfect model → a perfect fit.
Stage 6: Stone Setting (for Iced Pieces)
For stone-set grillz — bustdown, snow-set, stone trim — the hand-setting work happens after the cast is fitted and approved.
Padra sets each stone individually:
- The surface is prepared and the stone positions are marked
- Each stone is positioned and secured using metal beads pushed up around the stone's girdle
- The stone is checked for security and alignment before moving to the next
- For snow-set pieces, the stones are set touching each other with no visible metal between them
For a full bustdown set, this process can involve hundreds of individual stones. For snow-setting, the stones must be perfectly matched in size and precisely positioned — the most technically demanding work in the piece.
See our snow set grillz guide and bustdown grillz guide for detail on these techniques.
Stone options: see our VVS grillz guide, moissanite grillz guide, and lab diamond grillz guide.
Stage 7: Polishing and Finishing
Once the piece is set and checked, it goes through final polishing:
- The exterior surfaces are polished to the specified finish (high polish is standard; matte or brushed finish available on request)
- Stone-set areas are carefully cleaned without disturbing settings
- The interior is smoothed and buffed — the surface that sits against your teeth must be completely smooth
- Final quality inspection: setting security, surface finish, interior fit
Stage 8: Photography and Quality Check
Before anything ships, Padra photographs the piece under multiple light conditions to document the work and quality-check the final result. If anything isn't right, it goes back to the bench.
We also send you final photography before the piece ships, so you see exactly what's on its way before it arrives.
Stage 9: Delivery
Shipped via tracked, insured delivery to your address in the UK. Free UK delivery on all orders.
The piece arrives in a presentation case. For the record: your actual teeth are different from your model — the piece may feel slightly different in your mouth on first wear. This is normal. A well-fitted grill takes a brief moment to seat and acclimatise. It shouldn't require force or adjustment.
How Long Does the Process Take?
| Stage | Time |
|---|---|
| Impression kit dispatched after order | 1–3 days |
| You take impression, post back | Your timeline |
| Impression received, model poured | 1–2 days |
| CAD design and preview | 3–5 days |
| CAD revisions (if needed) | 1–3 days |
| Casting | 2–4 days |
| Fitting and filing | 1–2 days |
| Stone setting (stone-set pieces) | 3–7 days |
| Polishing and finishing | 1–2 days |
| Photography and dispatch | 1 day |
Total from impression received: typically 2–4 weeks. Stone-set pieces take longer. For the complete timeline explanation, see our how long do grillz take guide.
Frequently Asked Questions
Do I need to visit a dentist to get custom grillz? No. Our at-home impression kit contains everything you need. No dental visit required. If you'd prefer an in-person consultation, we offer free appointments in London.
What if my impression is bad? Contact us. Most kits include enough material for a second attempt. If not, we'll arrange a replacement. Common mistakes and how to avoid them are covered in our impression guide.
Can I change the design after seeing the CAD? Yes — that's what the CAD preview stage is for. You can request changes before production begins.
What happens if my grillz don't fit properly when they arrive? Contact us. We'll work with you to resolve fit issues. In most cases, fit problems trace back to impression quality — which is why we emphasise the impression guide.
Are grillz made by machine or by hand? The casting process uses moulds, but the fitting, filing, stone-setting, and finishing are all done by hand. Stone-set pieces in particular are entirely hand-set — there is no machine that does this work.
Do you make grillz for the bottom teeth as well? Yes — top, bottom, or both. See our top vs bottom grillz guide for which is right for you.
Start the Process
Every Ice Jeweller piece follows this process exactly — your impression, your design, your teeth. Free impression kit, free UK delivery, CAD preview before production.
- Shop All Grillz →
- Get Your Free Impression Kit →
- Read the Impression Guide →
- How Long Do Grillz Take? →
- Contact Us on WhatsApp →